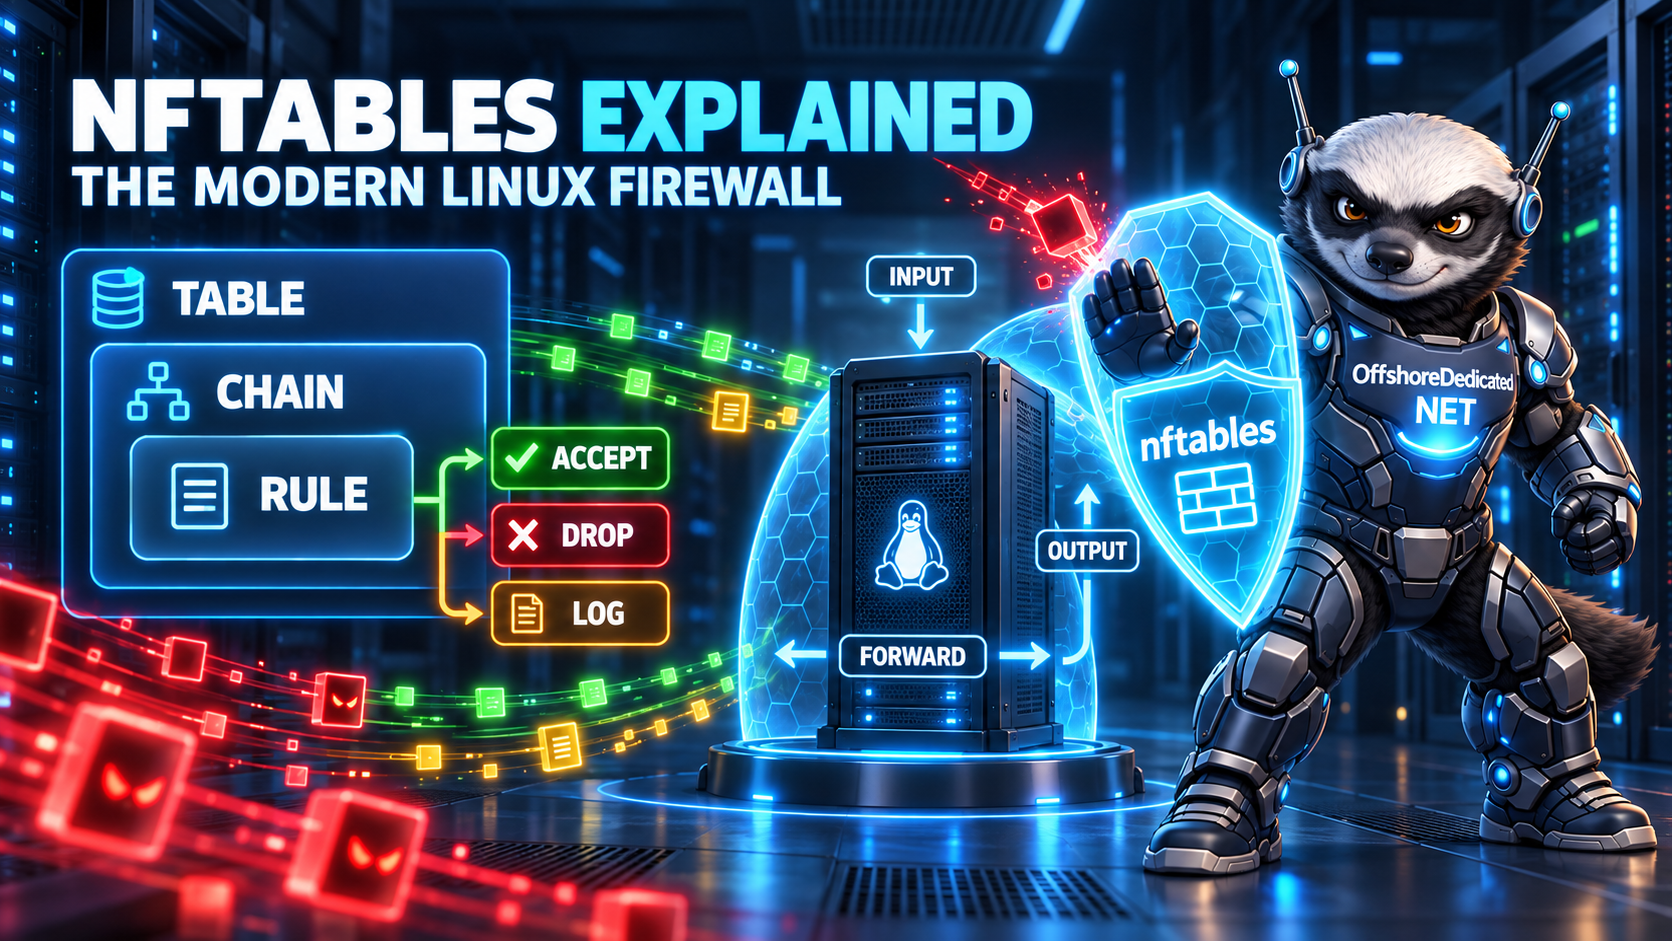

A new Linux server may expose SSH, web services, databases, control panels, and other applications to the internet. A firewall reduces this exposure by allowing the traffic the server needs and dropping unsolicited connections to everything else.
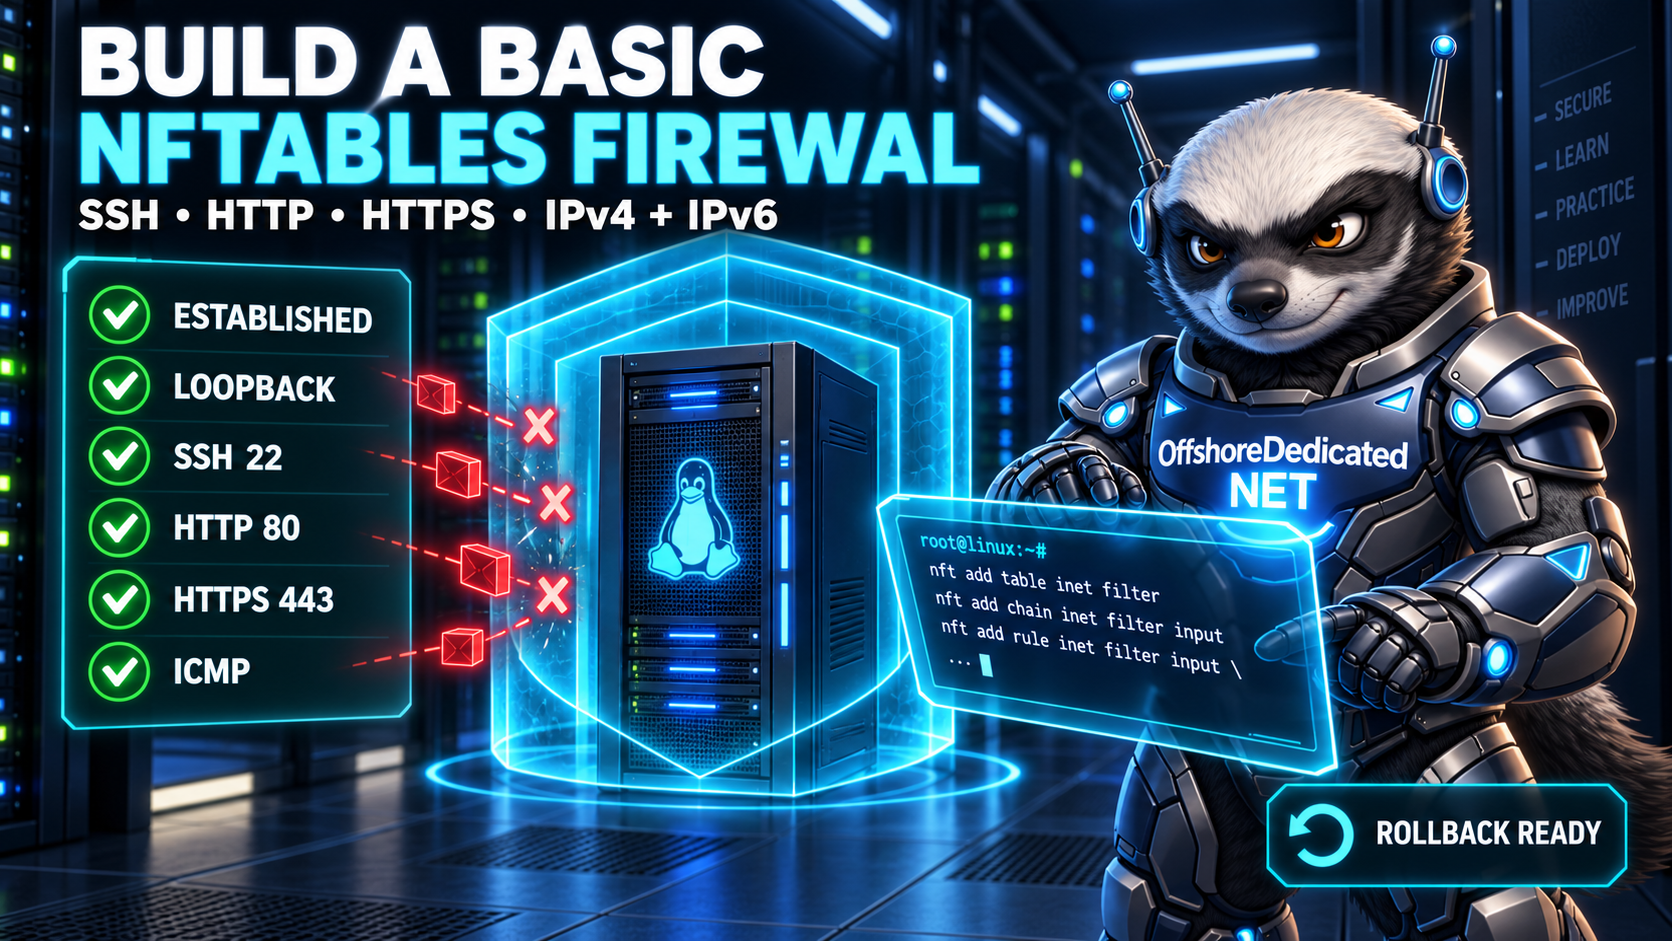
This tutorial builds a basic nftables firewall for a remotely administered web server. It permits SSH, HTTP, HTTPS, loopback traffic, established connections, and essential ICMP traffic while applying a default drop policy to incoming connections.
Firewall changes can immediately disconnect a remote administrator. Read the complete procedure, confirm your SSH port, and arrange console or rescue access before applying anything.
What This Firewall Will Do
The example policy will:
- Handle IPv4 and IPv6 in one
inettable - Accept traffic belonging to established connections
- Allow local loopback communication
- Drop invalid connection-tracking states
- Permit essential ICMP and ICMPv6 traffic
- Allow SSH on TCP port 22
- Allow HTTP on TCP port 80
- Allow HTTPS on TCP port 443
- Drop other unsolicited incoming traffic
- Allow outbound traffic
- Drop forwarded traffic
If your server uses a different SSH port, replace 22 before loading the configuration.
For explanations of tables, chains, hooks, connection tracking and verdicts, read our guide to nftables concepts and terminology first.
Before You Change the Firewall
Do not apply this ruleset blindly to a production system.
Check whether another tool already controls the firewall:
systemctl is-active firewalld
systemctl is-active nftables
sudo nft list ruleset
iptables --version
Control panels, firewalld, container platforms, orchestration software, and hosting security tools may create their own rules.
The configuration in this tutorial contains:
flush rulesetThat instruction removes the active ruleset before replacing it. It is appropriate only when nftables will be the server’s single, documented firewall manager.
Do not use it on a server where Docker, Kubernetes, firewalld, a hosting panel, or another system owns network rules.
Confirm the Services and Listening Ports
List listening TCP and UDP sockets:
sudo ss -lntupConfirm the port used by SSH:
sudo sshd -T | grep '^port 'Depending on the distribution, the daemon may be named differently or require the full executable path.
Check the SSH connection you are currently using:
printf '%s\n' "$SSH_CONNECTION"Do not disable a port simply because you do not recognize it. Identify the process and determine whether the application, monitoring system, DNS service, mail server, VPN, or control panel requires it.
A self-managed Linux VPS gives the administrator root-level control, which also makes the administrator responsible for preserving required network access.
Install nftables
On Ubuntu or Debian:
sudo apt update
sudo apt install nftables
On Fedora:
sudo dnf install nftablesOn distributions using firewalld by default, decide which management layer will own the firewall. Do not disable or replace an active firewall remotely until you have confirmed a safe migration procedure.
Check the installed version:
nft --versionBack Up the Current Ruleset
Create a backup that begins by clearing the rules it will replace:
sudo sh -c 'printf "flush ruleset\n" > /root/nftables-before.nft'
sudo sh -c 'nft list ruleset >> /root/nftables-before.nft'
Confirm that the backup contains the expected configuration:
sudo nft -c -f /root/nftables-before.nft
sudo sed -n '1,200p' /root/nftables-before.nft
The first command checks syntax without applying the file.
A backup is useful only if you can reach it during recovery. Verify provider console, IPMI, rescue environment, or another out-of-band access method before changing a remote production firewall.
Create the Basic Ruleset
Open the nftables configuration:
sudo nano /etc/nftables.confUse this ruleset:
#!/usr/sbin/nft -f

flush ruleset

table inet filter {
    chain input {
        type filter hook input priority filter;
        policy drop;

        # Drop packets with an invalid tracked state
        ct state invalid drop

        # Allow replies and traffic related to existing connections
        ct state established,related accept

        # Allow communication within the local machine
        iifname "lo" accept

        # Allow essential IPv4 and IPv6 control traffic
        meta l4proto { icmp, ipv6-icmp } accept

        # Allow SSH, HTTP and HTTPS
        tcp dport { 22, 80, 443 } accept

        # Count traffic that reaches the default drop policy
        counter
    }

    chain forward {
        type filter hook forward priority filter;
        policy drop;
    }

    chain output {
        type filter hook output priority filter;
        policy accept;
    }
}
If SSH uses port 2222, change the service rule to:
tcp dport { 2222, 80, 443 } acceptDo not add both ports unless both SSH listeners genuinely need to remain accessible.
Why Each Rule Exists
Invalid Packets
ct state invalid dropThis discards packets that connection tracking cannot associate with a valid state.
Established and Related Traffic
ct state established,related acceptThis preserves traffic belonging to recognized connections, including the responses required by connections the server already accepted.
Loopback Traffic
iifname "lo" acceptApplications frequently communicate with local services through the loopback interface. Blocking it can break databases, caches, monitoring agents, and other software.
ICMP and ICMPv6
meta l4proto { icmp, ipv6-icmp } acceptICMP is not limited to ping. It supports error reporting, path MTU discovery, and essential IPv6 functions such as Neighbor Discovery.
Blocking all ICMP traffic can create difficult connectivity problems. More restrictive ICMP policies require careful protocol-specific design.
Public TCP Services
tcp dport { 22, 80, 443 } acceptThis anonymous set permits:
- SSH on port 22
- HTTP on port 80
- HTTPS on port 443
Remove ports for services the machine does not provide. A database-only server, DNS server, mail server, VPN endpoint, or control panel requires a different policy.
Check the Ruleset Without Applying It
Validate the file:
sudo nft -c -f /etc/nftables.confThe official nft manual defines -c as checking command validity without applying changes.
No output normally means the syntax check succeeded. Confirm the exit status:
printf 'Exit status: %s\n' "$?"An exit status of zero confirms syntactic validity. It does not prove that the policy permits every service you require.
Arrange an Automatic Rollback
On a system with systemd, you can schedule the previous ruleset to return after five minutes:
command -v nft
sudo systemd-run --unit=nft-rollback --on-active=5m /usr/sbin/nft -f /root/nftables-before.nft
Use the actual path returned by command -v nft if it is not /usr/sbin/nft.
Confirm that the rollback timer exists:
systemctl list-timers nft-rollback.timerThis is a safety net, not a replacement for console access. Test the rollback procedure on a non-production system before depending on it.
Load and Test the Firewall
Keep the current SSH session open. Load the checked configuration:
sudo nft -f /etc/nftables.confThe official nftables documentation explains that loading a file with nft -f applies its changes as one transaction, avoiding a partially updated ruleset.
Inspect the active configuration:
sudo nft -a list rulesetNow open a second terminal and create a new SSH connection:
ssh admin@server-addressIf key-based authentication is configured:
ssh -i ~/.ssh/id_ed25519 admin@server-addressOur guide to protecting SSH with key authentication explains how to generate, install, and test modern keys safely.
From an external system, verify the website:
curl -I http://example.com
curl -I https://example.com
Also confirm:
- DNS still resolves
- Monitoring remains connected
- IPv4 access works
- IPv6 access works, if configured
- Required application integrations work
- New SSH sessions open successfully
Cancel the Rollback After Successful Testing
Only after a new SSH session and required services work, cancel the scheduled rollback:
sudo systemctl stop nft-rollback.timer
sudo systemctl reset-failed nft-rollback.service
Verify that the timer is no longer scheduled:
systemctl list-timers nft-rollback.timerIf testing fails, do not cancel it. Wait for the previous ruleset to return or use console access to restore it manually:
sudo nft -f /root/nftables-before.nftMake the Rules Persistent
Persistence varies between distributions and firewall managers. On systems where the nftables service loads /etc/nftables.conf, enable it:
sudo systemctl enable nftablesDo not reboot immediately. First confirm what the service will load:
systemctl cat nftables
sudo nft -c -f /etc/nftables.conf
When a maintenance window and recovery access are available, reboot and verify:
sudo rebootAfter reconnecting:
sudo nft list ruleset
sudo systemctl status nftables --no-pager
RHEL-family systems may use /etc/sysconfig/nftables.conf with included rules files instead. Follow the distribution’s documentation rather than assuming every system uses the same path.
Restrict SSH to Trusted Addresses
If administrators connect from stable addresses, SSH can be limited further.
For one trusted IPv4 address:
ip saddr 192.0.2.10 tcp dport 22 acceptFor one trusted IPv6 address:
ip6 saddr 2001:db8::10 tcp dport 22 acceptThe addresses above are documentation examples. Replace them only with verified administrative addresses.
Do not add a restrictive source rule while leaving the general rule below it:
tcp dport 22 acceptThe unrestricted rule would continue accepting SSH from everywhere.
Administrators with changing residential or mobile addresses may need a VPN, bastion host, management network, or another controlled access design.
Add Rate-Limited Logging Carefully
Logging can help with troubleshooting, but logging every dropped packet may consume excessive storage.
Add this immediately before the final counter rule if required:
limit rate 5/second burst 10 packets log prefix "nft-input-drop: " level infoReview matching messages:
sudo journalctl -k -g 'nft-input-drop'Use a restrained rate and monitor storage. Logging does not block traffic by itself; the chain’s default drop policy handles the final verdict.
Important Limitations
This is a basic web-server firewall, not a universal template.
Modify it for servers providing:
- DNS
- Databases
- VPN access
- Game services
- Control panels
- Container networking
- Routing or NAT
- Monitoring endpoints
- Custom application ports
A host firewall also cannot absorb every large network attack. Projects expecting sustained media traffic or volumetric attacks may need provider-level filtering and high-bandwidth streaming infrastructure in addition to local packet rules.
If the active ports, firewall manager, or recovery procedure are uncertain, server security management can help create and maintain a policy appropriate for the actual workload.
Final Verification Checklist
Before considering the firewall complete, verify:
- The ruleset passed
nft -c. - The correct SSH port is allowed.
- A second SSH session works.
- HTTP and HTTPS respond externally.
- IPv4 and IPv6 were both tested.
- Required monitoring remains connected.
- No control panel or container manager was disrupted.
- The saved configuration matches the active ruleset.
- The rules survive a planned reboot.
- Console or rescue access remains available.
- The rollback timer was cancelled only after testing.
Display the final policy with:
sudo nft -a list rulesetFinal Thoughts
A useful firewall is not the longest ruleset. It is the smallest policy that permits required services, blocks unnecessary exposure, survives a reboot, and can be safely recovered when something goes wrong.
For a basic web server, allowing established connections, loopback traffic, ICMP, SSH, HTTP, and HTTPS provides a sensible starting point. The default drop policy then rejects unsolicited traffic to other services.
Before applying the configuration, identify the active firewall manager, confirm the real SSH port, preserve the existing rules, check the new file, and arrange rollback access. Those safety steps are just as important as the firewall rules themselves.