
SSH is one of the most important services on a Linux server. It provides remote administrative access, file transfers, tunnels, automation, and emergency troubleshooting. It is also frequently exposed directly to the internet.
A secure SSH configuration should reduce unnecessary access without making the server impossible to manage. The safest approach is to introduce stronger controls gradually, test every change, and keep an existing session open until a second login succeeds.
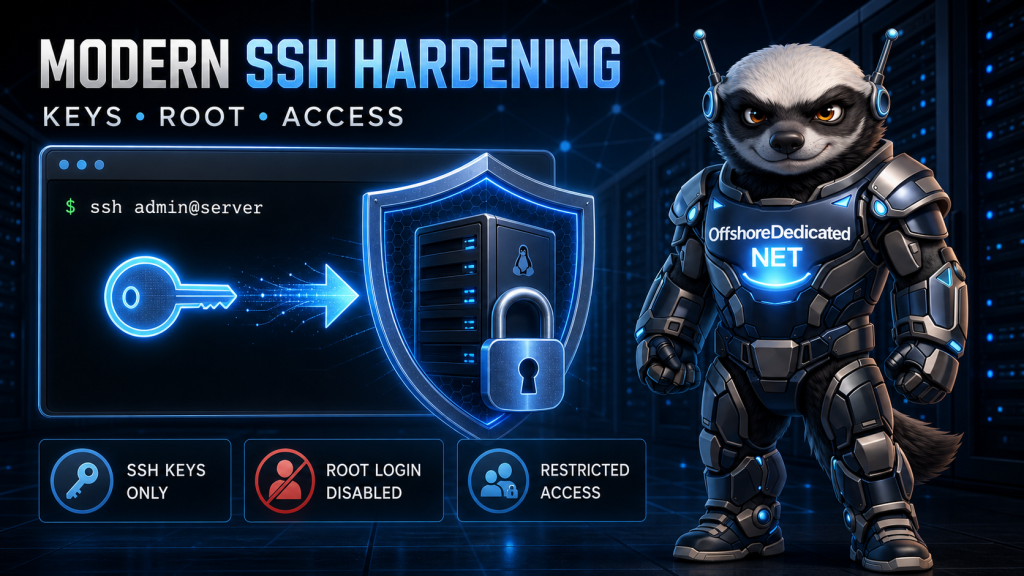
This guide explains practical SSH hardening for a public Linux server without relying on fragile settings or copied lists of fashionable algorithms.
What Does SSH Hardening Mean?
SSH hardening is the process of reducing the ways an attacker can reach or authenticate to the OpenSSH server.
A sensible hardening plan normally includes:
- Installing security updates
- Using a separate administrative account
- Requiring public-key authentication
- Preventing direct root login
- Limiting which accounts may use SSH
- Restricting network access where possible
- Disabling unused SSH features
- Monitoring failed and successful logins
- Testing every configuration change before applying it
No single directive makes SSH secure. Effective protection comes from multiple controls that continue working even if one layer fails.
Avoid Locking Yourself Out
The greatest immediate risk during SSH hardening is not an attacker. It is accidentally disabling your own access.
Before changing the SSH server:
- Confirm that you have working console or recovery access.
- Create a non-root administrative account.
- Install and test its SSH public key.
- Confirm that the account can use
sudo. - Keep the existing SSH session open.
- Test configuration syntax before reloading SSH.
- Open a second terminal and confirm that a new login works.
Do not close the original session until the hardened configuration has been tested successfully.
A VPS control panel may provide an emergency console or recovery environment, but availability differs between providers. Confirm your recovery options before editing remote-access settings on an offshore VPS server.
Keep OpenSSH and the Operating System Updated
SSH hardening begins with maintained software.
On Ubuntu or Debian, update package information and install available upgrades:
sudo apt update
sudo apt upgrade
On Fedora, AlmaLinux, Rocky Linux, or another DNF-based distribution:
sudo dnf upgradeCheck the installed OpenSSH client version with:
ssh -VThe server package version may differ from the version displayed by the client. Use the operating system’s package manager to inspect the installed OpenSSH server package.
Distribution maintainers often backport security fixes without changing the visible upstream version in the way users expect. Do not assume a package is vulnerable solely because a scanner compares its version string with the latest upstream release.
Use a Separate Administrative Account
Routine administration should not require a direct SSH login as root.
Create or identify a normal user, grant only the administrative rights it needs, and confirm that sudo works before restricting root access.
For example:
sudo -vThis verifies that the current account can authenticate for sudo. You can then test an administrative command:
sudo whoamiThe expected output is:
rootAccount-creation and administrative-group commands differ between distributions. Verify the correct sudo or wheel group for your operating system rather than copying an account command blindly.
Configure SSH Key Authentication
Public-key authentication avoids sending or validating an account password during normal SSH login.
Generate a modern Ed25519 key on the client computer:
ssh-keygen -t ed25519Protect the private key with a strong passphrase. The public key can then be installed on the server:
ssh-copy-id admin@server-addressReplace admin and server-address with the actual account and server address.
Test the key in a new terminal:
ssh admin@server-addressDo not disable password authentication until this login succeeds.
Protect the Authorized Keys File
OpenSSH checks file ownership and permissions before trusting an authorized_keys file.
On the server, the administrative user can apply conservative permissions:
chmod 700 ~/.ssh
chmod 600 ~/.ssh/authorized_keys
Confirm that the files belong to the correct user:
ls -ld ~/.ssh
ls -l ~/.ssh/authorized_keys
Never copy a private key to the server. The private key remains on the client device; only its public key belongs in authorized_keys.
Use a Configuration Drop-In
The main OpenSSH server configuration is normally:
/etc/ssh/sshd_configModern distributions may also load configuration snippets from:
/etc/ssh/sshd_config.d/Ubuntu’s current OpenSSH server documentation recommends snippets because they keep local changes separate from package-managed defaults.
Before relying on a drop-in, check whether the main file contains an active Include directive:
grep -n '^Include' /etc/ssh/sshd_configYou can then create a dedicated hardening file:
sudoedit /etc/ssh/sshd_config.d/10-hardening.confThe filename and processing order matter. OpenSSH generally uses the first value obtained for most directives, so inspect both the main file and existing snippets when a setting does not behave as expected.
Apply a Safe SSH Hardening Baseline
A practical starting configuration is:
PermitRootLogin no
PubkeyAuthentication yes
PasswordAuthentication no
KbdInteractiveAuthentication no
PermitEmptyPasswords no
MaxAuthTries 3
LoginGraceTime 30
AllowUsers admin
Replace admin with the real administrative username.
Disable Direct Root Login
This directive prevents root from logging in through SSH:
PermitRootLogin noAdministrators log in with a normal account and elevate individual commands through sudo. This creates a clearer audit trail and removes the predictable root username from remote authentication.
Do not enable this setting until a separate administrative account has been fully tested.
Disable Password Authentication
After confirming that SSH keys work, use:
PasswordAuthentication noThis removes ordinary SSH password guessing as a path into the server.
Keyboard-interactive authentication can still provide password-like or challenge-based prompts through PAM. If you do not use keyboard-interactive authentication or multifactor authentication, disable it:
KbdInteractiveAuthentication noDo not disable it blindly when a PAM-based one-time-password system depends on it.
Restrict Which Users Can Log In
Use an allowlist to restrict SSH access:
AllowUsers adminMultiple users can be listed on the same line:
AllowUsers admin deploy backupThe official sshd_config manual also supports AllowGroups, DenyUsers, and DenyGroups.
An allowlist is usually easier to audit than leaving SSH available to every local account.
Reduce Authentication Attempts
Limit the number of authentication attempts permitted per connection:
MaxAuthTries 3This does not replace firewall rate limiting, but it reduces unnecessary attempts within an individual connection.
A shorter login grace period also limits how long an unauthenticated connection may remain open:
LoginGraceTime 30Disable SSH Features You Do Not Use
SSH supports much more than interactive shell access. It can forward TCP connections, graphical applications, authentication-agent sockets, and Unix-domain sockets.
If users do not need these features, consider disabling them:
X11Forwarding no
AllowAgentForwarding no
AllowTcpForwarding no
Be careful with AllowTcpForwarding no. It can break legitimate tunnels, deployment tools, database access, and development workflows.
Restricted service accounts may be better handled with a Match block rather than applying the same limitations to every administrator.
For example:
Match User backup
    X11Forwarding no
    AllowAgentForwarding no
    AllowTcpForwarding no
Always inspect the effective configuration after adding conditional rules.
Test the SSH Configuration
Check the configuration for syntax errors:
sudo sshd -tNo output normally means the syntax check passed. An error must be corrected before reloading the service.
Inspect the effective configuration with:
sudo sshd -TYou can filter important values:
sudo sshd -T | grep -E \
'permitrootlogin|passwordauthentication|kbdinteractiveauthentication|maxauthtries|allowusers'
This is more reliable than assuming the value in one file is active. Includes, distribution defaults, and Match rules can affect the result.
On Ubuntu or Debian, reload SSH with:
sudo systemctl reload sshOn many RPM-based distributions, the service is named sshd:
sudo systemctl reload sshdA reload applies valid settings without unnecessarily terminating the daemon. Keep the existing session open and test a completely new connection immediately.
Restrict SSH at the Firewall
If administrators connect from a fixed office IP, VPN, or management network, restrict TCP port 22 to those trusted sources.
Network-level restriction is stronger than allowing the entire internet to reach the login prompt. The exact rule depends on whether the server uses nftables, firewalld, UFW, a cloud firewall, or a provider-controlled firewall.
Apply remote firewall changes cautiously:
- Allow the trusted source first.
- Confirm that the new rule exists.
- Test a second SSH connection.
- Only then remove the broad allow rule.
An incorrect firewall rule can lock you out even when the SSH configuration is perfect.
Should You Change the SSH Port?
Moving SSH from port 22 to another port can reduce automated log noise, but it is not a major security boundary.
Internet scanners can discover services on nonstandard ports. Changing the port does not replace keys, access controls, patching, or a firewall.
If you change it, remember to update:
- The host firewall
- Provider or cloud firewall rules
- SELinux policy where applicable
- Monitoring systems
- Automation
- Client SSH configuration
- Documentation used during emergencies
Treat a custom port as noise reduction, not protection against a determined attacker.
Monitor SSH Authentication
Review successful and failed authentication events regularly.
On Ubuntu or Debian:
sudo journalctl -u sshOn systems using the sshd service name:
sudo journalctl -u sshdTo follow events in real time:
sudo journalctl -fu sshTraditional authentication logs may also exist in /var/log/auth.log or /var/log/secure, depending on the distribution.
Repeated failures may justify firewall rate limits or a tool such as Fail2ban. Automated blocking can reduce noise, but it should complement—not replace—key authentication and restricted network access.
Avoid Copying Custom Cipher Lists Blindly
Modern OpenSSH releases already disable many obsolete algorithms by default. Linux distributions may also apply system-wide cryptographic policies.
A cipher list copied from an old hardening guide can:
- Re-enable weak algorithms
- Disable modern defaults
- Break valid clients
- Conflict with distribution policies
- Become outdated without notice
Inspect the active algorithms before changing them:
ssh -Q cipherFor the server’s effective cipher configuration:
sudo sshd -T | grep ciphersUbuntu’s OpenSSH cryptography documentation explains how packaged defaults and configuration changes interact. Unless you have a defined compliance or compatibility requirement, maintained distribution defaults are generally safer than an unexplained custom list.
SSH Hardening Checklist
Before finishing, confirm the following:
- OpenSSH and the operating system are updated.
- A non-root administrative account exists.
- The administrative account can use
sudo. - Key-based login works in a separate terminal.
- The private key has a strong passphrase.
- Direct root login is disabled.
- Password login is disabled only after keys are tested.
- SSH access is limited to required users or groups.
- Unused forwarding features are disabled.
- The firewall restricts access where practical.
sshd -treports no configuration errors.sshd -Tshows the intended effective settings.- A new SSH connection works before the original session is closed.
- Recovery-console access has been confirmed.
- Authentication logs are monitored.
Organizations without the time or experience to maintain these controls may benefit from professional Linux server management.
Final Thoughts
Modern SSH hardening is less about collecting dozens of directives and more about controlling identities, authentication, network reachability, and configuration changes.
Use a separate administrative account, require tested SSH keys, prevent direct root access, restrict who can connect, and disable features that are not needed. Most importantly, validate every change and maintain a recovery path.
A short, understandable configuration that is tested and monitored is safer than a large hardening template nobody can explain.